Welcome to our step-by-step guide on creating a custom logo in Illustrator. Whether you’re a graphic designer or a small business owner looking to establish a strong brand identity, Illustrator offers the perfect platform to bring your logo ideas to life. And with our easy-to-follow tutorial, you’ll be designing eye-catching logos in no time.
In this guide, we’ll take you through the entire logo creation process, from brainstorming concepts to choosing the right color scheme and typography. We’ll also share essential tips and tricks to make your logo stand out, ensuring that it captivates your audience and accurately represents your brand.
With Illustrator’s powerful tools and our simple, yet comprehensive instructions, you’ll be able to create a custom logo that not only speaks to your audience but also sets your brand apart from the competition.
So, whether you’re a seasoned designer or a beginner exploring the world of logo design, let’s dive into the captivating journey of creating a unique and impactful logo in Illustrator.
Understanding the importance of a logo for your brand
A logo is the face of your brand, the visual representation that customers associate with your business. It’s a powerful tool that communicates your brand’s values, personality, and uniqueness. A well-designed logo can leave a lasting impression and establish trust with your target audience.
To create an effective logo, it’s crucial to understand the role it plays in your overall branding strategy. A logo should be memorable, versatile, and timeless. It should reflect your brand’s identity and convey the right message to your customers.
Here are the instructions for designing a personalized logo using Illustrator for either your own company or for clients:
Step 1: Gathering inspiration and brainstorming logo ideas
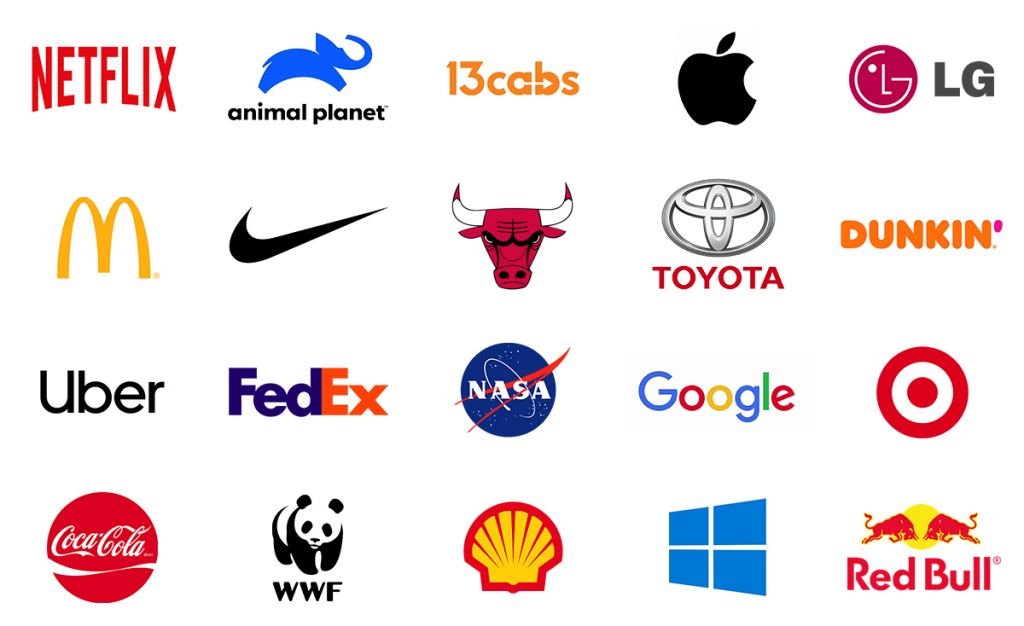
Before diving into the design process, it’s essential to gather inspiration and brainstorm logo ideas. Start by researching your industry, competitors, and target audience. Look for successful logos in your niche and analyze what makes them stand out.
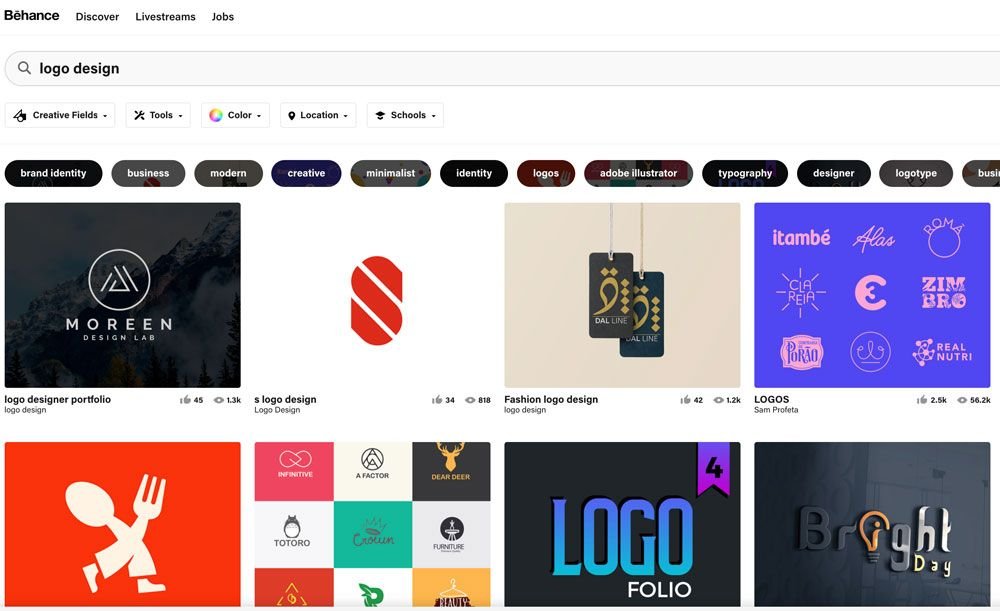
Create a mood board or a collection of visual references that inspire you. Explore different styles, color palettes, and typography to get a sense of what resonates with your brand. By immersing yourself in the creative process, you’ll generate a wealth of ideas that will guide you in designing a unique and impactful logo.
Step 2: Setting up your workspace in Illustrator
Now that you have a clear vision of your logo, it’s time to set up your workspace in Illustrator. Open the software and create a new document with the appropriate dimensions for your logo. Consider the different applications of your logo, such as website headers, social media profiles, and print materials, and choose a size that ensures scalability without compromising quality.

Customize your workspace by arranging the panels and tools you’ll need for logo design. Familiarize yourself with the essential tools, such as the Pen Tool, Shape Tools, and Type Tools, as they will play a crucial role in creating your logo.
Step 3: Choosing the right fonts and colors for your logo
Typography and color selection play a significant role in logo design, as they evoke emotions and convey meaning. Choose fonts that align with your brand’s personality and values. Consider legibility, scalability, and uniqueness when selecting a font for your logo.
When it comes to color, think about the emotions and associations you want to convey. Research color psychology and how different colors are perceived by your target audience. Choose a color scheme that complements your brand’s identity and creates a harmonious visual experience.
Step 4: Sketching and creating initial logo concepts
Now that you have your inspiration, workspace set up, and fonts and colors selected, it’s time to start sketching and creating initial logo concepts. Sketching by hand allows for more creative freedom and exploration of different ideas. Use pencil and paper to rough out your logo concepts, experimenting with different shapes, forms, and arrangements.

Once you have a few strong concepts, digitize your sketches using Illustrator. Use the Pen Tool to trace your sketches and refine the shapes. Experiment with different variations, layouts, and arrangements to find the best composition for your logo.
Step 5: Refining and perfecting your logo design
With your initial logo concepts in place, it’s time to refine and perfect your design. Pay attention to details, such as alignment, spacing, and symmetry. Use the various tools in Illustrator to fine-tune your logo, adjusting curves, shapes, and proportions.
Consider the scalability of your logo and ensure it remains legible and visually appealing at different sizes. Test your logo on different backgrounds to ensure it stands out and remains recognizable.
Step 6: Adding finishing touches and effects to your logo
To make your logo truly unique and eye-catching, consider adding finishing touches and effects. Experiment with gradients, shadows, and textures to add depth and dimension to your design. Be mindful not to overdo it, as simplicity and clarity are key concepts in logo design.
Play with different effects and blend modes to create interesting visual effects. Remember that your logo should be versatile enough to work in various applications, so keep the effects subtle and tasteful.
Step 7: Exporting and saving your logo in different formats
Now that your logo is complete, it’s time to export and save it in different formats. Save a master file in a vector format such as SVG or AI, as it allows for scalability without loss of quality. Export raster versions of your logo in formats like PNG or JPEG for web and print applications.
Consider saving your logo in different color variations, such as full-color, grayscale, and black and white, to ensure versatility across different mediums and contexts.
Conclusion: Showcasing your custom logo and next steps
Congratulations! You’ve successfully created a custom logo in Illustrator. Your logo now represents your brand’s identity and will help you establish a strong visual presence in the market. Showcasing your logo on your website, social media profiles, and marketing materials will create a cohesive and professional brand image.
Remember that a logo is just the beginning of your brand’s journey. Continuously evaluate and refine your logo as your business evolves. And don’t be afraid to seek feedback from your target audience and industry professionals to ensure your logo resonates with your customers.
Now that you have the skills to create a custom logo in Illustrator, continue exploring the world of design and expand your creative horizons. The possibilities are endless, and your newfound expertise will open doors to endless opportunities.

Leave a Reply